

 UK
UK
 USA
USA EU
EU
Our talented designers have spent hours letting the magic of Meri Meri inspire them to create something wonderful. The result? They’ve crafted amazing paper dolls for everyone to enjoy, based on our best-selling fabric dolls.
Stories
From dream party themes to brilliant birthday party ideas and star interviews, inspiration for every event starts here!

How to Decorate for Halloween
Halloween is almost here and for many kids it's the most exciting time of the year. From transforming into favourite characters to heading out for trick-or-treating with candy buckets [...]
CONTINUE READING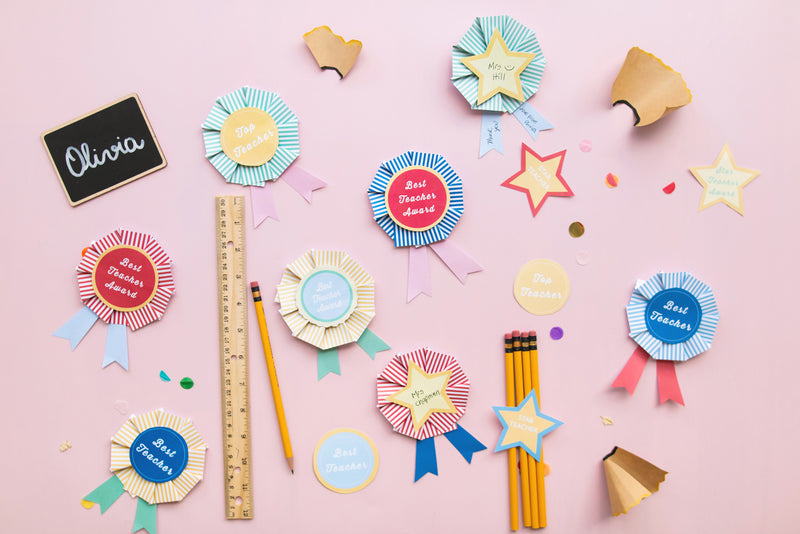
Free Craft Activity: Thank You Teacher Rosettes
Print-out and make these special rosettes to make your teacher feel appreciated at the end of the summer term

Free Craft Activity: Father’s Day Card
Create a rocket-themed Father's Day card kids will love. A fun craft project perfect for toddlers, preschoolers and young kids to make a special gift for Dad.

Free Craft Activity: Decorations for Cinco de Mayo
Print-out and make a Meri Meri Papel Picado garland to celebrate Cinco de Mayo.

Special lanterns and envelopes to make for Lunar New Year
Download, print-out and craft these fun Meri Meri-designed Lunar New Year red envelopes, red lanterns and rabbit lanterns.

Free Craft Activity: Send your Love
Valentine’s cards are the perfect way to tell the special people in your life that you love them. Put them in the post, into a postbox or deliver them in person (if virus rules allow). Our talented designers have created several card designs for you to make.
Paper dolls – Make Harry
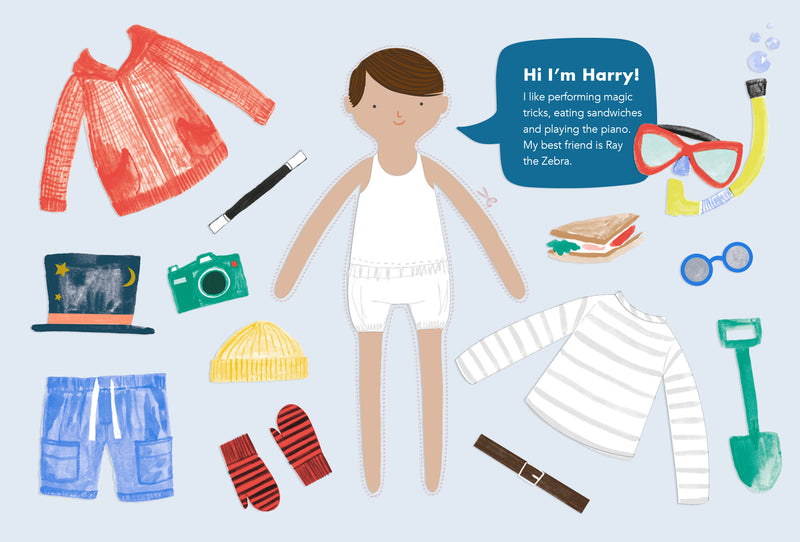
Looking for fun craft activities for your little people? Our talented designers have crafted an amazing Harry paper doll for everyone to enjoy. They’ve also created Ruby, Matilda, Carolyn and Lila paper dolls – do check them out in our stories section (so you can make several friends for Harry to play with). Harry Loves to Travel Harry is a real adventurer and enjoys exploring the world and going on marvellous holidays – perfect for imaginative play! Download our Harry printable paper doll template and 2 pages of his clothes and accessories onto card (or print onto normal paper and stick onto card) Click here to download. He comes with a sensational suitcase which you can make, then fill, with all his favourite things needed for the perfect get-away – including clothes, suntan lotion, a camera, a mask and snorkel, binoculars, bucket and spade, sunglasses, toothbrush and toothpaste. Here are the instructions on how to make his suitcase: Step 1: Print onto card, and cut around the suitcase and handle. Step 2: Fold along all of the dashed lines.Step 3: Put glue or double-sided tape on the tabs and stick into position following the printed arrows. Step 4: Stick on the handle. Create Harry’s Many Looks As well as travelling and going to the beach, Harry loves performing magic shows and comes with an amazing star-sprinkled cape, top hat and wand. He also loves to pretend to be a pirate and has a fabulous pirate hat and striped top. He enjoys taking photographs whilst on walks on cooler days, so has a woolly hat, gloves and sweatshirt to stay warm in. Keep all his clothes and accessories neat and tidy in his suitcase when he’s on his travels. Then, when at home, if you prefer you can hang them onto a neat little washing line (see our Ruby blog for details).
Kids Craft Activity: Festive Paper Chains
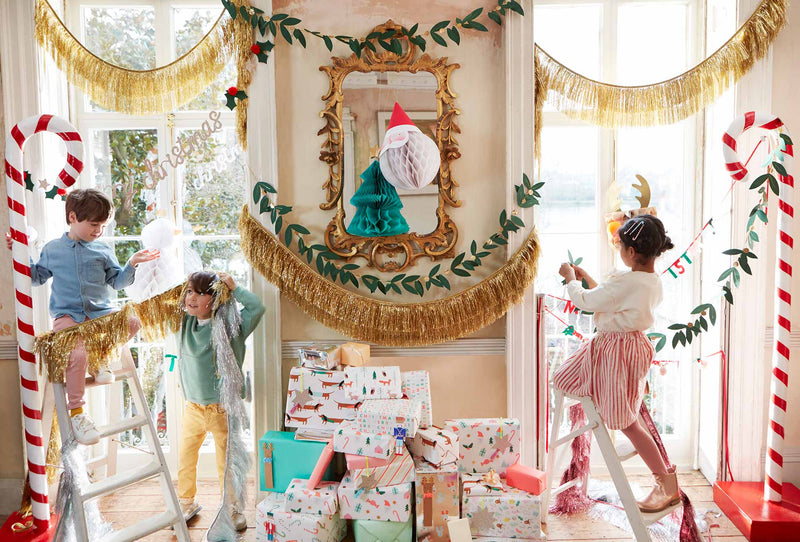
Dress your tree in festive paper chains! Our free, printable template contains fun designs in holiday colours and is an activity to share with friends and family.

Free Craft Activity: Superhero Cuffs
Boom! Zap! These cool superhero cuffs are a great activity for DIY dressing up. Simply download the free template, follow our easy instructions, and prepare to save the world...
Free Craft Activity: Circus Top Hats
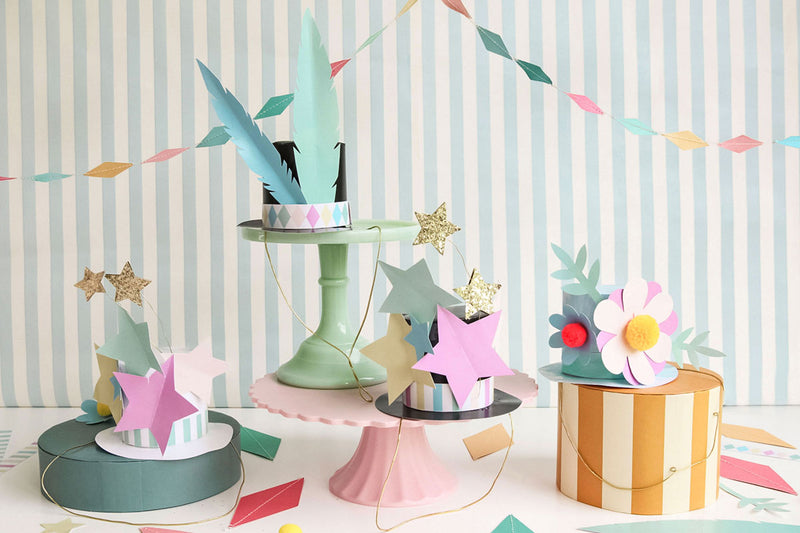
A great party activity or at-home craft – make your own circus top hats with a signature Meri Meri twist! Download the free template to make yours now.
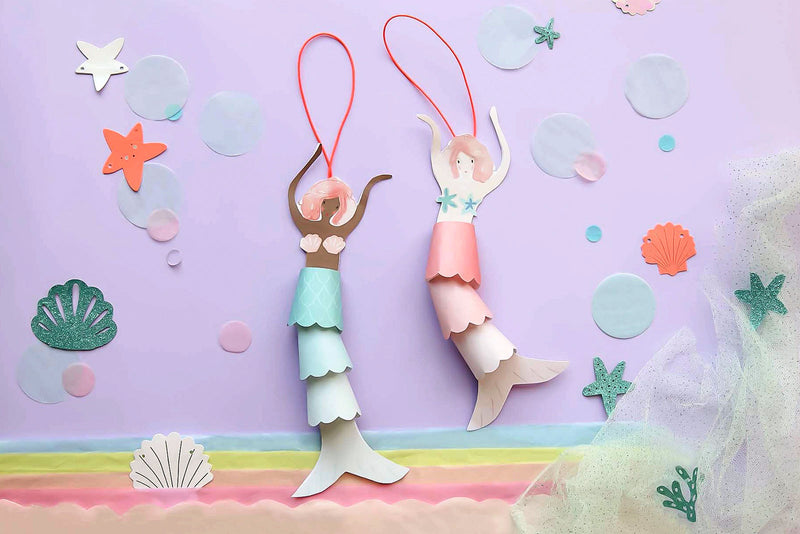
Free Craft Activity: Mermaid Make
Perfect for a mermaid-themed party or to hang up in their bedroom – this easy mermaid craft is a great activity for creative kids.
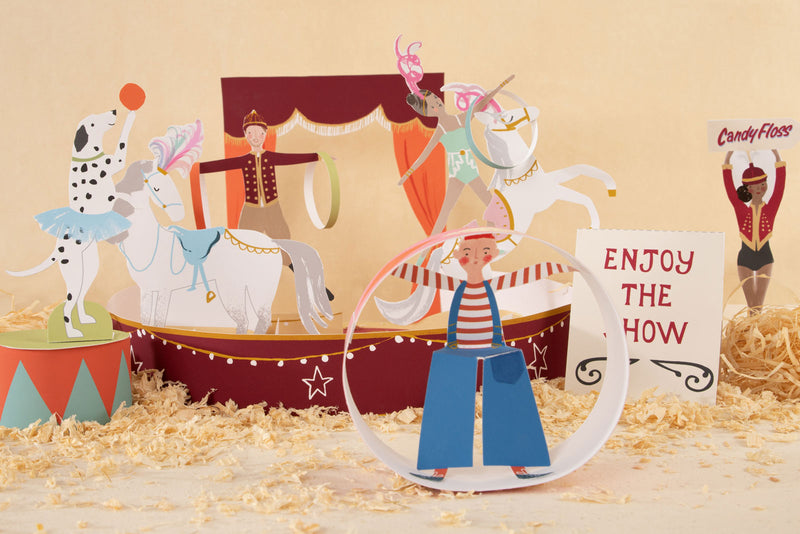
Free Craft Activity: Gifford’s Circus Ring
Gravity-defying acrobats, mischievous clowns, bareback horse riders and thoughtful creative direction... Gifford’s Circus is a breath-taking spectacular of diverse talent. Originally homegrown in the Cotswolds, the circus now tours the country and is loved by British celebrities like Stella McCartney, Helena Bonham Carter and Lily Allen.

Free Craft Activity: Halloween Treat Box
Say “boo!” Celebrate Halloween with this easy-to-make treat box. Simply download the free template, follow our easy instructions, and prepare to collect all the treats...
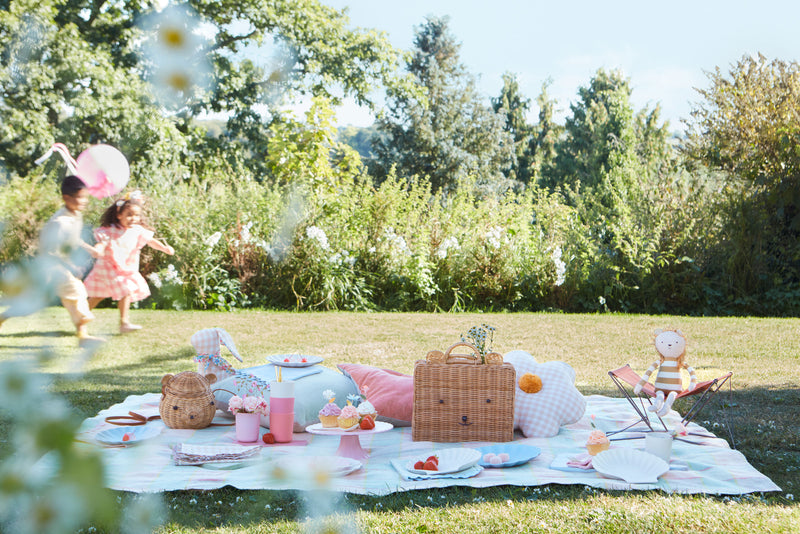
Make a Recycled Hoopla Party Game
Sydney Piercey is a mother of three who is passionate about re-use, creativity and pursuing a slower, more sustainable life. Previously a nanny before having her own children, she’s now making waves online with her cardboard play creations. Sydney’s first book, Sustainable Play, will be released this Spring – featuring over 60 cardboard crafts and games for an earth-kind home.
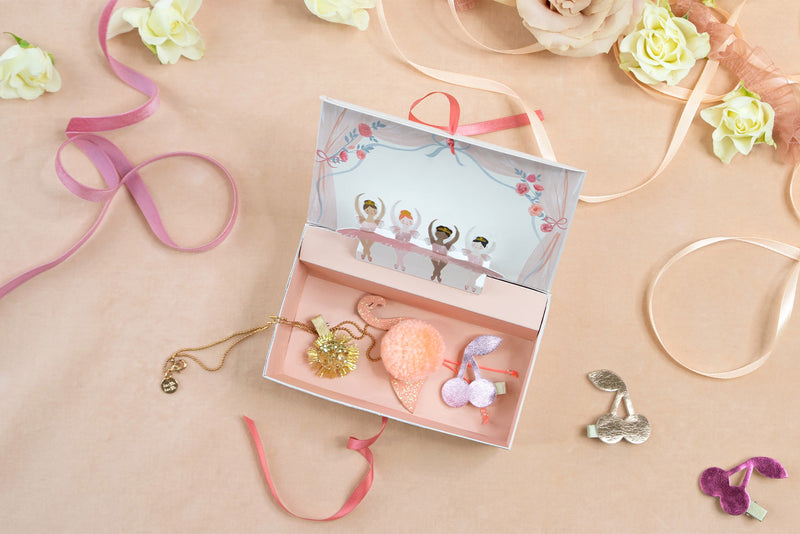
Free Craft Activity: Ballerina Jewellery Box
This beautiful jewellery box is easy to make with just card and ribbon, using our free downloadable template. A perfect rainy-day activity, or used as favours for a ballet-themed party – just write each guest’s name in the frame provided.
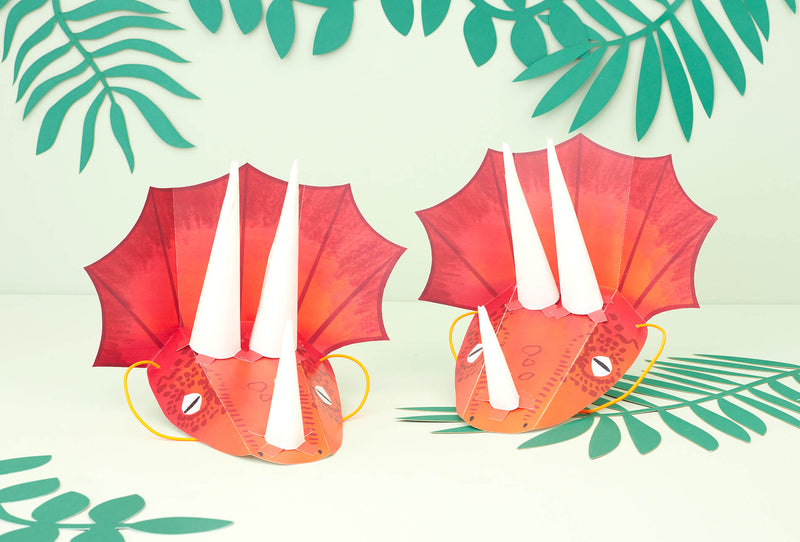
Free Craft Activity: Make a Triceratops Headpiece
Triceratops fans will love transforming into their favorite dino with this easy headpiece to make at home.

Free Craft Activity: Send Santa a Letter
Keep the Christmas magic alive by sending Santa a letter and crafting a reply! With our free, printable templates & top tips for writing a response, you’ll ace the holidays this year.

Free Craft Activity: Halloween Headpiece
Craft a Halloween Headpiece: Meri Meri's DIY Delight - Unleash your creativity with step-by-step instructions to create a bewitching headpiece for a truly unique Halloween look.
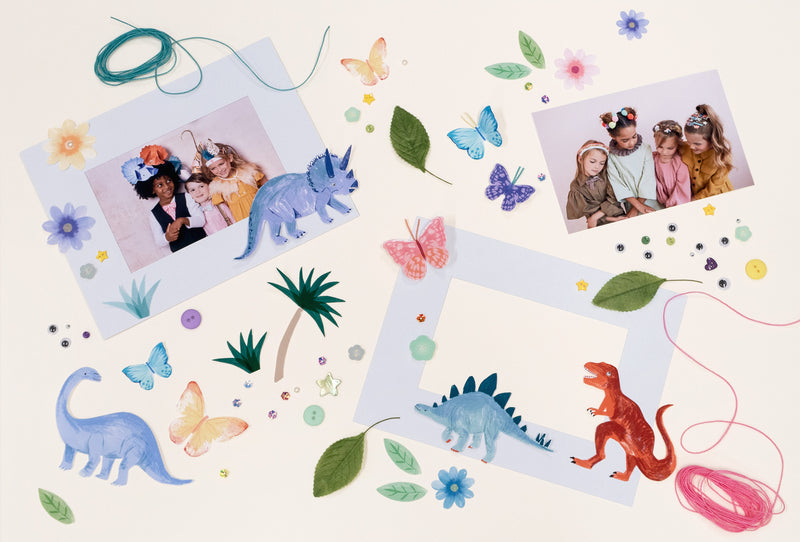
Free Craft Activity: Make a Picture Frame
A homemade picture frame makes a gorgeous gift for granny, or for you or your kids to keep a favorite photograph in. Our talented design team have created two 3D frames for you to make – beautiful butterflies or dynamic dinosaurs. We also share our top ideas on how to take the perfect photographs to pop into your frames. Create a Fabulous Frame Make your photographs look amazing with these butterfly or dinosaur frames. Click here to download the free templates. To make the frames you will need: A printer, printer paper and card, scissors, glue or sticky foam pads, thread, cord or craft wire, sequins, beads and googly eyes. You can also use stickers for decoration (we’ve got a wide range, check them out here). And, of course, you will need a fabulous photograph to frame! (6” x 4” size). Step 1: Print out the templates for the frames onto paper and glue onto card or print it straight onto card. The stand piece will ideally need to be glued to a thicker piece of card or to two pieces of thin card to give it extra strength. Print out your choice of illustrations from the templates. Cut out all the pieces you wish to use. Step 2: To make the frame, first decide if you want it to be landscape or portrait (this will obviously depend on the photograph you want to frame). Take the back piece and glue along the shaded areas (itʼs important you only glue the 3 sides so you can easily slide your photo in at the end!). Then stick the front of your frame to the back piece. For the stand, firstly fold along the dotted line. Lay the stand down flat on the back of your frame so that the short side is parallel with the bottom of the frame. Stick the top part of the stand down as shown. Step 3: Now for the decorations. Use glue or sticky foam pads to attach your characters to make your frame really stand out. The butterflies can be made to look 3D by folding them in half and using thread, cord or craft wire to make antennae. Or add googly eyes to the dinosaurs. Then just have fun adding on as many embellishments as you like. Or why not try personalising your frame with some of our sensational stickers? Step 4: Once youʼre happy with your design, finish off by sliding your chosen photo into the frame. Take the Perfect Photograph 1. Get your subject off-center. Apparently, it’s a common mistake to think the subject of your photographs should be directly in the center of the shot. However, this is said to reduce overall visual interest, causing a less than stimulating effect. So, get your subject to stand slightly off-center for a more interesting result. 2. Bigger is better. A lot of people have the subject of their photograph too small in the shot. So, zoom in or get closer with your camera. 3. Go for patterns. Our eyes love patterns, so make your photograph more exciting by including lots of them in the shot – so this could be with clothing, accessories (check out our amazing hair accessories, enamel pins, embroidered brooches and necklaces) or your background, like flowers, trees or a colorful painting.

Craft a Friendship Bracelet
Little people love to show their friends and family they adore them – and what better way than with a hand-crafted colourful friendship bracelet? Our talented design team have created one for your kids to make and give as a gift to their favourite person or people. We also share other craft creations, to team with the bracelet, to make it even more exciting to give and receive. How to Make the Bracelet Simply click here to download the template to make your beautiful bracelet. You will need: A printer, paper and card, scissors, pencil and ball of putty (or something to make a small hole in the card), 7 strands of thread (embroidery threads work well), each approx 20 inches long. Instructions: Step 1: Print out the loom template and stick onto some card. Cut it out and make cuts along each of the small lines. Step 2: Make a hole in the middle of the loom by putting a ball of putty underneath and pushing through a pencil.Step 3: Take 7 strands of thread and knot them together at one end, leaving an inch of thread loose at the end so you have a decorative tassel. Step 4: Push the knotted end through the hole in the middle of the loom so the knot is on the underside. Step 5: Thread each of the strands through each of the slots, you should be left with one empty slot. Step 6: Hold your loom so the empty slot is at the top. Count 3 strands to the left and move this third stands into the empty slot. Step 7: Turn your loom so the new empty slot is at the top. Count 3 strands to the left again and move it to the empty slot.Step 8: Keep repeating stage 6 and 7 and you’ll see your friendship bracelet grow from under the loom. Keep the threads nice and tight in the slots as you continue making your bracelet.Step 9: Keep going until your bracelet is long enough to tie around your wrist. When you are happy with it, remove it from the loom, tie a knot in the end and cut off the loose threads, leaving an inch at the end to make another tassel. Now you can make as many as you like and give them to your friends! 3 Friendly Ways to Present Your Bracelet 1. In a card. If you can’t see your friends at the moment, then send your bracelets by post inside a special homemade card. We’ve created 3 amazing notecards for you to make – an adorable sausage dog, dreamy sailboat and a cherry ice-cream, go here for the instructions and downloads. As an extra touch, why not include a quote about the wonders of friendship?Here are our favourites: “A sweet friendship refreshes the soul.” - Proverbs 27:9 “Many people will walk in and out of your life, but only true friends will leave footprints in your heart.” - Eleanor Roosevelt. “There is nothing I would not do for those who are really my friends.” - Jane Austen. “The only way to have a friend is to be one.” - Ralph Waldo Emerson. “Friendship is the only cement that will ever hold the world together.” - Woodrow Wilson. 2. Pop it into a piñata. Little piñata favours are the perfect way to present your bracelet to a friend. Put it inside and they’ll get a lovely surprise when they open it. Make your own mini piñata, go here for ideas or choose one of our lovely designs which include unicorns, llamas, skull and crossbones, flamingos, swans, robots, mermaids, crocodiles and rainbows. 3. Include it with a gift. If it’s your friend’s birthday then you may want to team your homemade friendship bracelet with another gift too. Look for presents that have a true friendship meaning, like our Secret Notebook necklace or a notebook for them to write notes to you, like our sausage dog, unicorn and cat notebooks.